Wednesday, 28 August 2013

Happy bird-day!

Hello!

Today, you guessed it, is another birthday card!  This time for my friend who's favourite colour is orange.  So here is the card:

To make this card, you will need:

  1. A piece of orange patterned paper and white card
  2. A piece of black polka-dot ribbon
  3. Orange, brown, blue and yellow ink pads
  4. The 'happy bird-day' stamp (I found it at the warehouse, but I'm sure you could create something similar from several small stamps)
  5. A corner rounding punch
First cut the orange piece to the same width but half the height of the card base.  Adhere it on the bottom half and cover up the seam with the ribbon.
Cut a circle from the white card large enough to fit the stamp.
Very carefully ink up the stamp with the different colours, (the ink pads I used to do this were a triangular shape and it certainly helped) use a baby wipe to wipe off any colour that ends up where you don't want it.  If you fear that it has taken you too long to do this and you think the ink has dried a little then just huff on to it as if you were cleaning a pair of glasses and stamp.
Outline the circle with the black gel pen and then adhere it onto the card offset from the middle to the right.
Create a border along the edge of the blank space with the gel pen.

There you have it! I really enjoy this stamp so I couldn't bear to just stamp it in one colour hence the tricky inking.  Another way you could do this, is to mask off the section you don't want to colour with tape while inking, remove the tape then stamp, clean it off and mask off the area you just stamped, ink with a different colour and line it up to stamp.  If you don't happen to have this stamp or anything similar, you could get the same effect by using several small stamps, say two little birds, a small present and a sentiment stamp.  Using several stamps will make the process easier when it comes to inking them up because you can do them individually, but you may have issues lining it up so I suggest you practice it first.

Till next time,
Rorystar 

Wednesday, 21 August 2013

The big 30!

Hello,

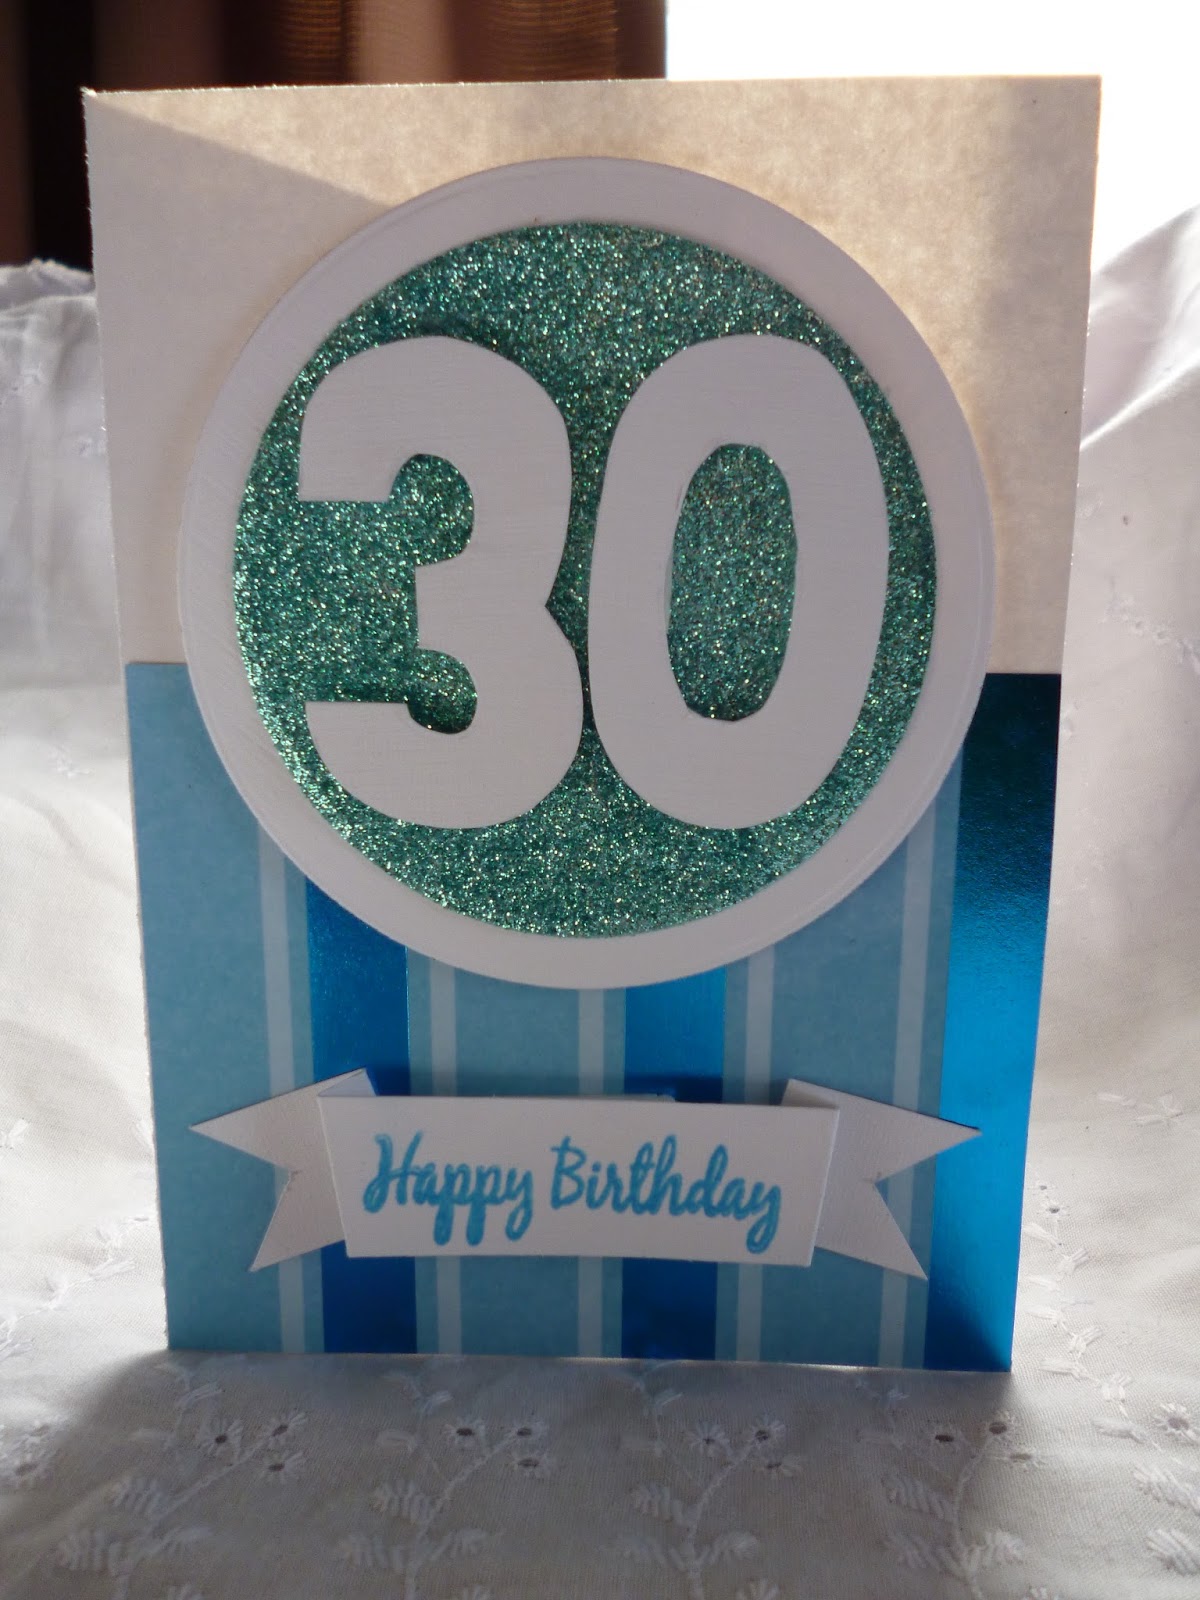
This week I am featuring a card for my partners 30 birthday.  He likes blue but he doesn't overly like the fact that he is turning 30, so I emphasized it (I am a little evil).
Here is the card:
That is one big 30!
To make the card, you will need:

  1. A piece of blue stripped patterned paper, a piece of white card and a piece of blue glitter paper
  2. A 'happy birthday' stamp
  3. Blue ink pad
  4. Either a die cutting machine with circle dies or scissors and a steady hand
First off, cut out your numbers.  I did this by hand (because I don't have and dies that are numbers) by drawing lightly on the card and cutting with scissors.
Using the numbers, determine how big the inner circle will be and cut it out of the blue glitter paper.  Then cut a circle that is a bit bigger from the white card.
Adhere the numbers to the glitter paper with dimensional foam, then the glitter circle to the white circle with regular adhesive.
Cut a piece from the stripy paper that reaches about 2/3 of the way up a standard card base and adhere it.  Adhere the circle over the edge of the stripped paper so that the edge of it runs a third of the way through the circle.
To make the banner, cut a strip from the white card about 2 cm thick, stamp the happy birthday in the middle and leave to dry for a few minutes.  Score either side of the sentiment and then again about 0.5cm along.  Fold the first score lines backwards (away from the sentiment) and the second score lines forwards.  Create the flag ends but cutting out a triangle. I did my scoring on a 10 degree angle, but it will work if you do it straight as well.
Adhere the banner to the card with dimensional foam behind the sentiment and regular adhesive behind the ends.

There you have it! one in-your-face 30th birthday card.
Till next time
Rorystar

Wednesday, 14 August 2013

August, the month of birthdays. Happy Birthday Birds Card

Hello!

So as you see in the title, August is one of those months for me when many people I know are having their birthday.  While its good for them it does mean a flurry of card making and a flurry of present buying (I'm now rather broke).  So at the time of writing this blog post I actually have enough cards made to see me into September at my normal rate of one a week.
Anyway.....
Todays card is a birthday card for one of my oldest friends.  She loves birds and the colour green so I knew I had to incorporate them into the card.
Here it is:
To make this card you will need:

  1. a piece of green patterned paper, green glitter paper and a piece of white card
  2. a piece of black ribbon
  3. 4 different bird and a 'happy birthday' stamps
  4. a small butterfly punch
  5. a black gel pen
  6. blue and green ink pads
To begin, cut the green paper to the exact width of the card but 1cm shorter than the height of the card (and cut it straight unlike me).  Adhere this on the card front and then stick on the ribbon at the halfway point.  
Cut the white card to 2cm shorter than the width of the card and depending on the size of your bird stamps, about 4cm tall.  
Stamp the birds first in blue ink (I used a few different shades, but its not necessary) then stamp the 'happy birthday' in green above the birds. 
 Punch out a butterfly from the green glitter paper and adhere it on the 'y' of birthday. Create a border with the gel pen and a little trail for the butterfly.  
Adhere the white panel over top of the ribbon with dimensional foam tape.

And there you have it, one green and bird themed birthday card.

Till next time,
Rorystar

Wednesday, 7 August 2013

Colourful Cupcakes

Hello!

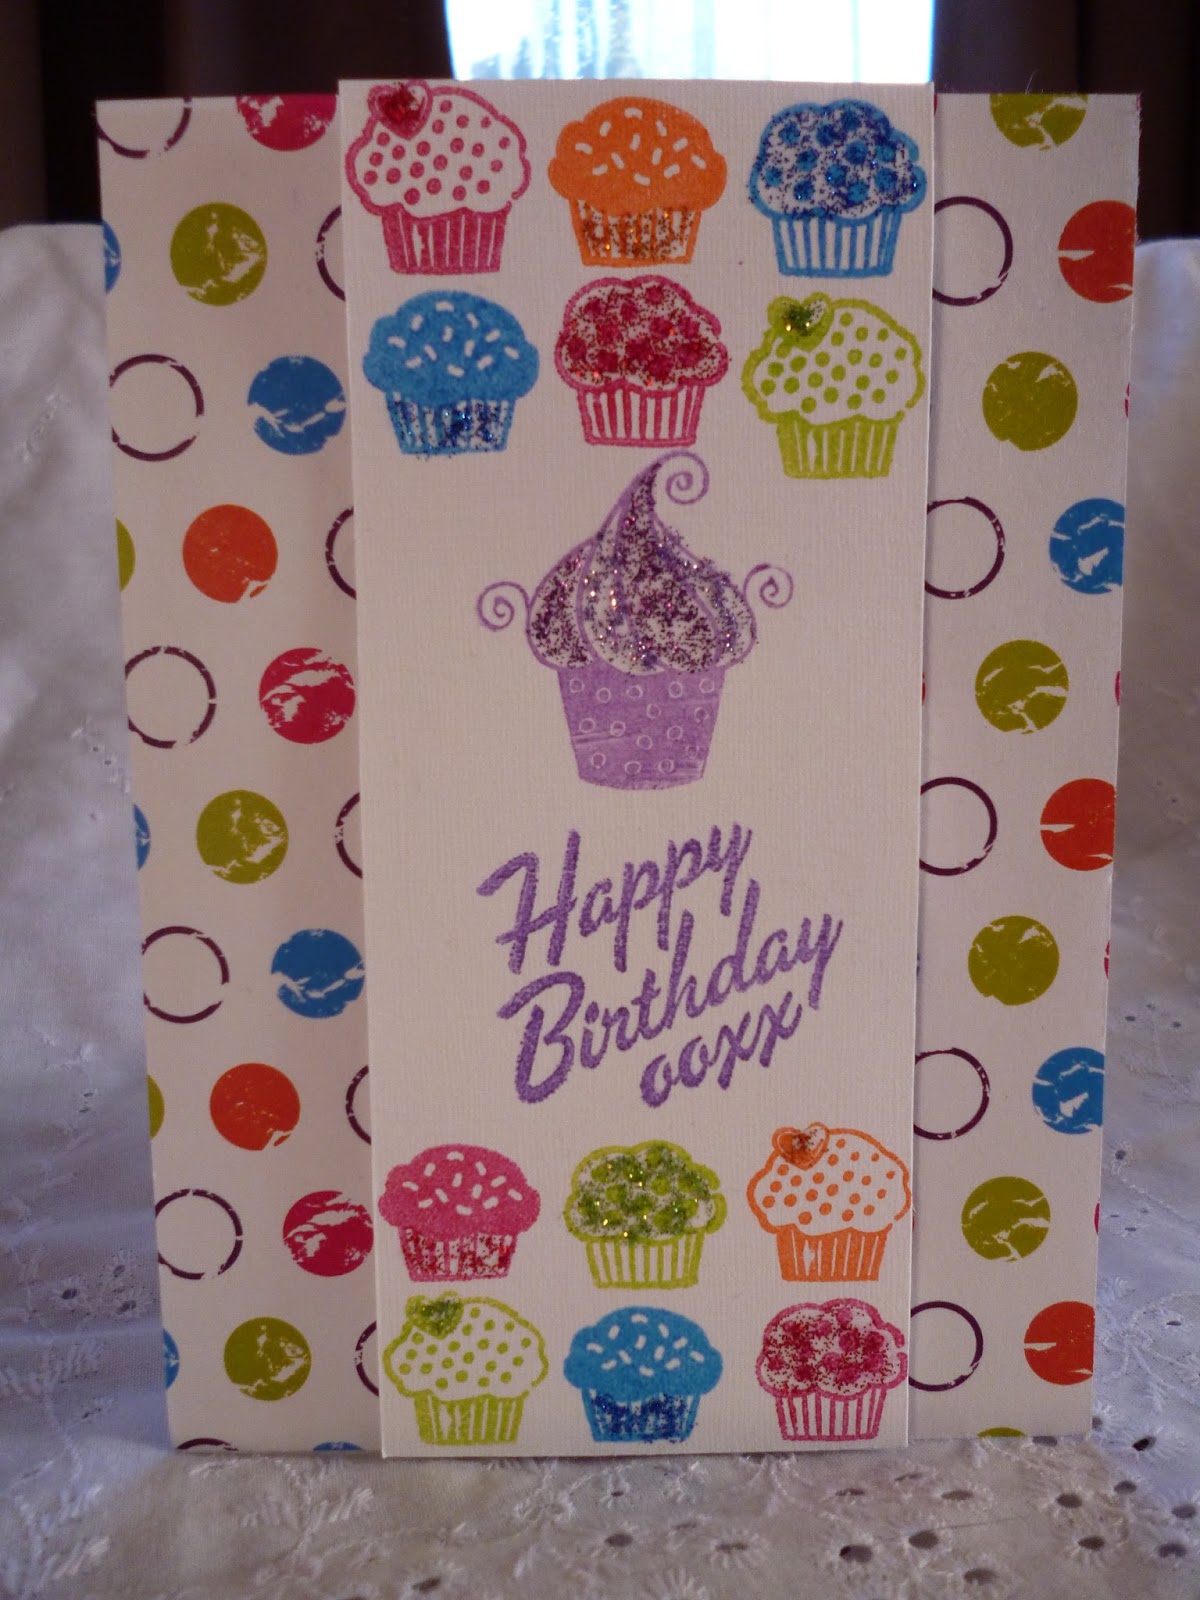
Today I am featuring a card I made for my friends birthday a few weeks ago.  She is one of those people who loves all the not-so-good-for-you foods so I knew that I had to use cupcakes somehow.
Here is the card:
So as you can see, I went a little overboard with the cupcakes......
To make this card:

  • Cut a narrow panel of white cardstock.  Using a large cupcake image, stamp it just above the middle of the panel.  With the same coloured ink, stamp a happy birthday below.
  • Cut a piece of patterned paper to the size of a card front and adhere.
  • With similar coloured inks to the patterned paper, stamp two rows of small cupcakes along the top and bottom of the white panel.  Adhere the panel to the card with dimensional foam.
  • Add glitter to the cupcakes. (I used some cheap glitter glue pens in various colours)
And there you have it! A really fun card that is just so colourful.

Till next time
Rorystar

Wednesday, 31 July 2013

Birthday Robot

Hello!

Today I feature a card suitable for a young boy.  I've always had trouble making cards for males but I knew when I found a robot stamp set that all my worries were over.  Combined with the 'heavy duty' embossing folder I have, the card turned out really well.
awwwww such a cute robot!
So to make this card you just have to stamp the robot, colour him in (I used colouring pencils), stamp a happy birthday and draw dash lines (I used a silver gel pen) around the border.  Then stick it on top of a grey card that has been embossed with the 'heavy duty' embossing folder and then smudged over the top with silver ink.
There you have it, a wonderful male card.

Till next time.
Rorystar

Wednesday, 24 July 2013

Teddy Bear

Hello.

Today I am showing a card I made based off of this youtube video: http://www.youtube.com/watch?v=-i4m8ckYi6E .
Here is my version:
I have done it a bit differently.  Firstly I didn't use a panel, I just put the tape directly onto the card base.  I also used a stamp of the teddy bear as the focus point and put my sentiment below it on a separate piece of paper.  You don't have to use washi tape, strips of paper would also work as you can tear off the ends to get a similar look.

Till next time.
Rorystar

Thursday, 18 July 2013

Three little birds

Hello!

So I forgot yesterday to post (my bad!), so here we are today with a card that uses patterned paper as the main focus.  Usually with my cards I use a stamp as my main focus but I had this paper and I knew I wanted to use it on a card but I didn't want the paper to just become the background like it normally does.
Here is the card:

How I made this card:

  1. Using a stencil (or just lightly drawing the shape in pencil) cut both of the bottom edges off the card base.
  2. Cut the patterned paper to fit the card front so that three sides are straight and the bottom edge is curved like the card base.  Adhere to the card base.
  3. Using a strip of white card stamp a sentiment in a coordinating colour and adhere with dimensional adhesive.
  4. Place sticky-backed gemstones on to the card using the blade of a craft knife (trust me it works) following a section of the pattern.
By using the patterned paper as the main focus it certainly reduces the amount of time it takes to make a card.  You do have to be aware of adding too much to the card front, and your efforts should be more focused on showing off the paper by adding small embellishments and changing the card shape.

That's all for today.
Rorystar